Nur’s Nook: Give a Homemade Gift—Make a HOUSE-planter
“Just as the plant stretches out to the sunlight—from which it receives life and growth—so we turn our hearts to the Manifestation of God, Bahá’u’lláh, when we pray ...”
—Bahá’í Writings
Making presents for my family and friends always lights me up! Shopping at our local flea market is a lot of fun, but homemade gifts are even better. They’re more personal, meaningful, and creative. I can convey feelings that may be harder to express with store-bought stuff. I can also use colors, designs, and pictures that match the tastes and interests of any bug I know.
Our family loves to celebrate birthdays, holidays, and holy days, so parties can get expensive. But with some imagination, amazing treasures can be created from things I already have in my tree house—including items from our trusty recycling bin.
Are you ready to let your creativity and generosity shine? Here’s a cool house-shaped planter to make for someone special. Decorate it with photos of their radiant family and friends.
You’ll Need:
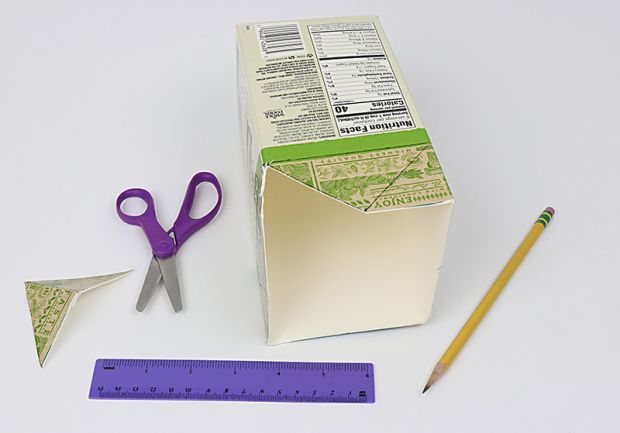
64 fl. oz. (1.9 L) empty beverage carton, ruler, pencil, scissors, soap, water, hammer, large nail, white and color acrylic paint, paintbrushes, cup, tacky glue, decorative paper, small photos, black permanent marker, potting soil and houseplant, plate, pitcher
What You Do:
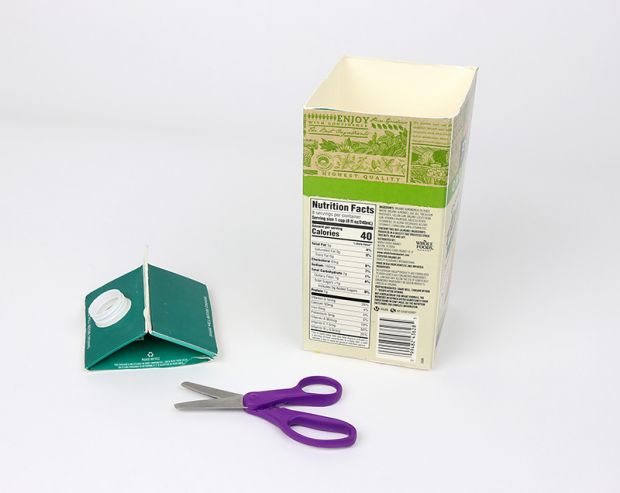
Step 1: Ask an adult to help with this step and the next one. Evenly cut off top portion of carton for planter. Wash with soap and warm water, and let dry.
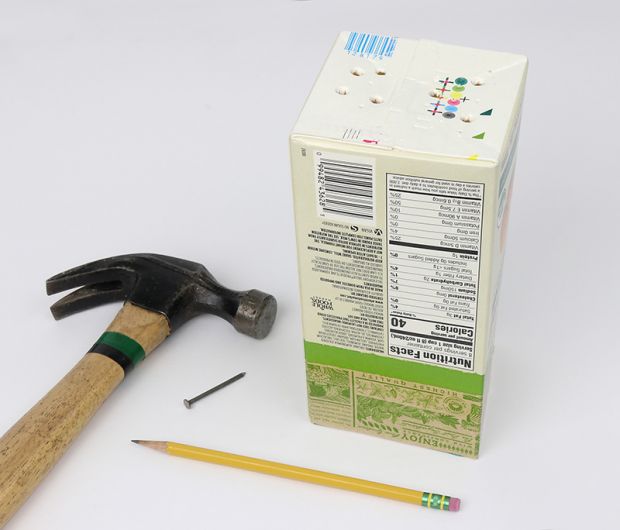
Step 2: Use hammer and nail to punch several holes in the bottom for draining water. Widen holes with pencil point.
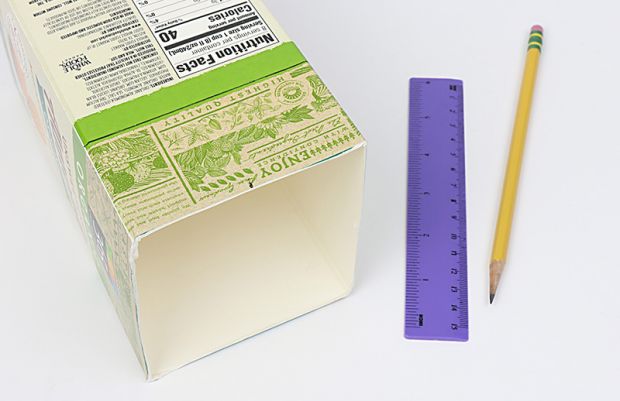
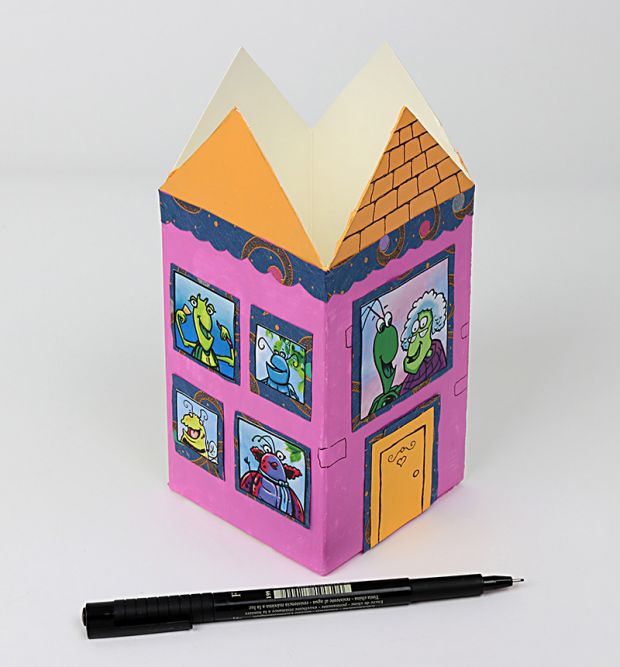
Step 3: Draw a straight line 2" (5.1 cm) from top of planter. Mark a dot in center of top edge.
Step 4: Draw triangle rooftop by connecting dot to ends of line. Repeat steps 3 and 4 on all sides. Cut along angled lines to trim off excess carton.
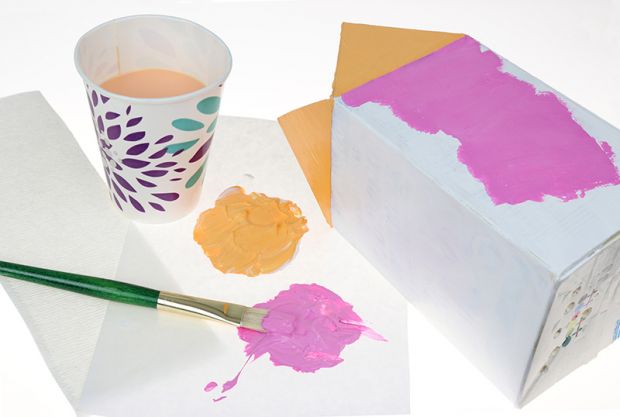
Step 5a: Completely coat outer carton (except bottom) with white paint to cover graphics. Let dry.
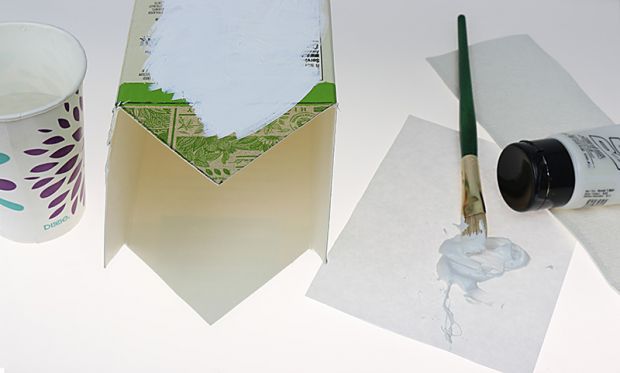
Step 5b: Repeat step with colorful paint.
Step 6: Use glue to decorate house with a paper door, trimmings, and windows. Put photos of planter recipient’s family members or friends in windows.
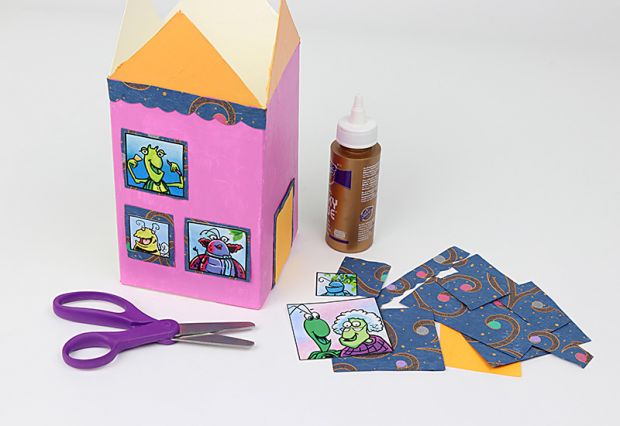
Step 7: Add details such as bricks and rooftop shingles with black permanent marker.
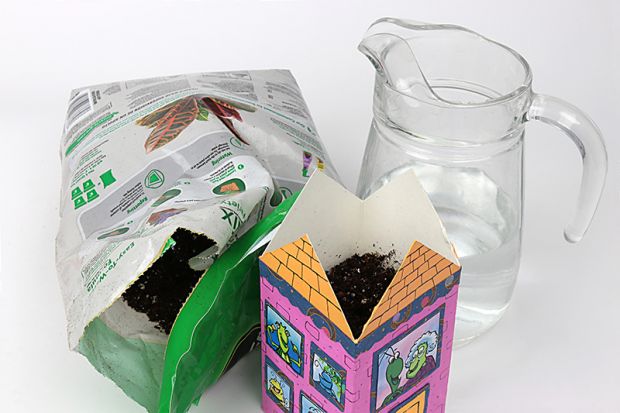
Step 8: Put soil in planter, filling non-rooftop portion about ¾ full. Add some water to slightly dampen the soil.
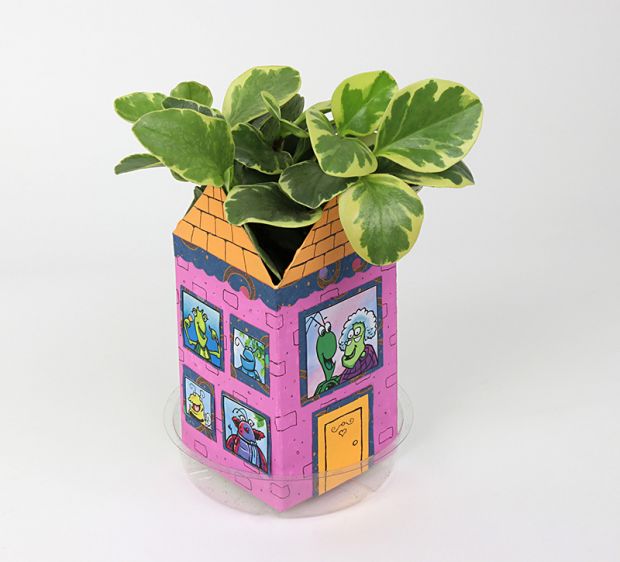
Step 9: Dig a hole in soil that’s big enough for your plant’s roots.

Step 10: Add plant. Add more soil around and on top of roots. Place planter on plate and use pitcher to carefully water plant.
For a printable version, download a PDF.
Characters493 Arts and Crafts223 Nur152 Plants22 Gifts28 Crafts213 Upcycling6 Generosity55 Creativity296 Celebrate44