Nur’s Nook: Make Your Own Ukulele
“Through the power and charm of music the spirit ... is uplifted.”
—‘Abdu’l-Bahá
Music can connect our hearts. In some ways it’s a universal language. Even if you don’t understand the words in a song, you can often feel the emotions they express. For example, an upbeat tune conveys joy, while a somber one communicates sadness.
One instrument that’s especially fun to play casually in groups is the ukulele. It’s a small guitar, usually with four strings, so it’s easy to carry around and share music with others. The ukulele evolved from an instrument brought to Hawaii by the Portuguese in the 1870s. Since then, different versions have been created. Today, ukuleles are heard around the world in pop, jazz, classical, and other types of music.
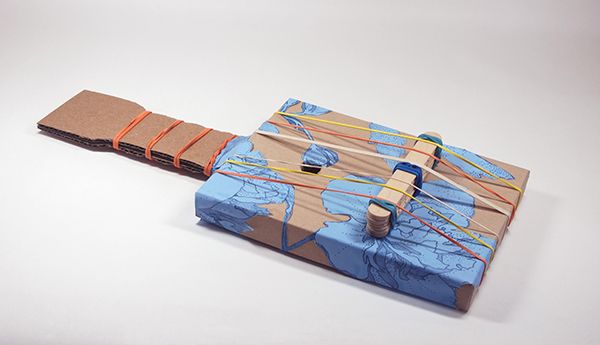
Make a ukulele to connect with your family and friends. Start by plucking strings to create a repetitive tune. Invite others to snap, clap, or sing along!
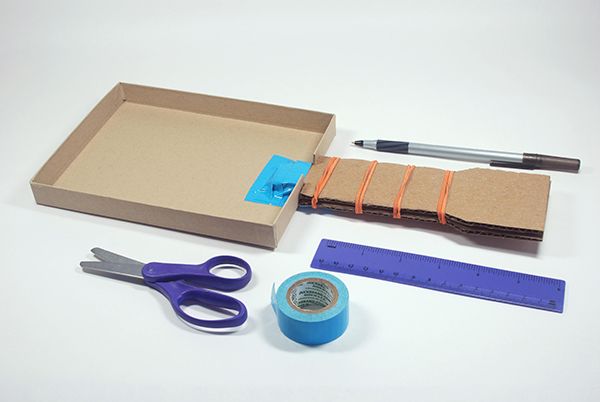
You’ll Need:
2 pieces thick cardboard 8" x 3" (20.3 x 7.6 cm), ruler, ballpoint pen, scissors, 10 jumbo craft sticks, 13 rubber bands of varying width, duct tape, decorative paper, stickers, markers, tacky glue, cardboard box with lid, about 7" x 5" x 1" (17.8 x 12.7 x 2.5 cm)
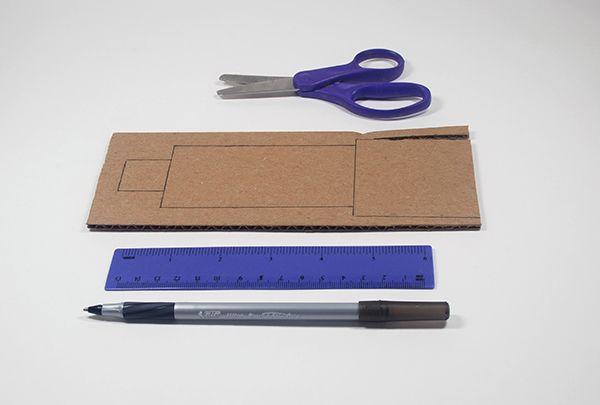
Step 1: On cardboard, draw a 2 ½" (6.4 cm) square for headstock, a 4" x 2" (10.2 x 5.1 cm) rectangle for neck, and a 1" square (2.5 cm) tab. Cut out as one piece.
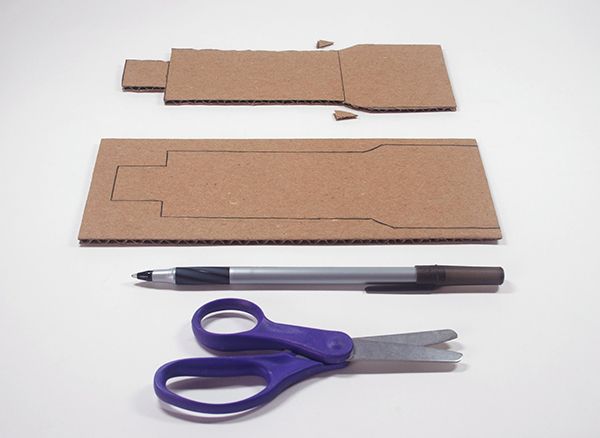
Step 2: Trim corners where headstock meets neck. Trace onto other cardboard piece and cut out.
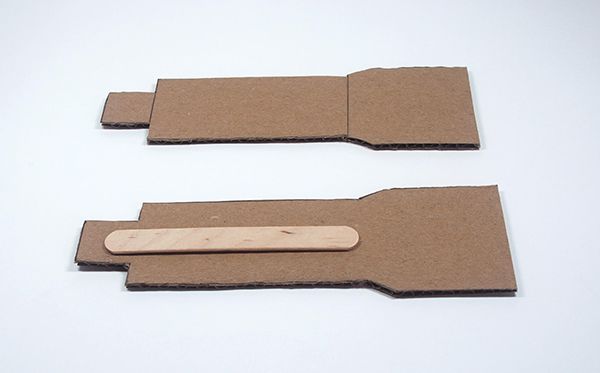
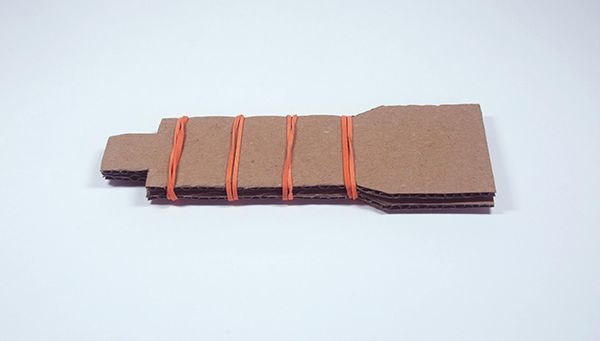
Step 3: Stack cardboard pieces with a craft stick between them
Step 4: Wrap four rubber bands snugly around neck for frets, spaced 1" (2.5 cm) apart.
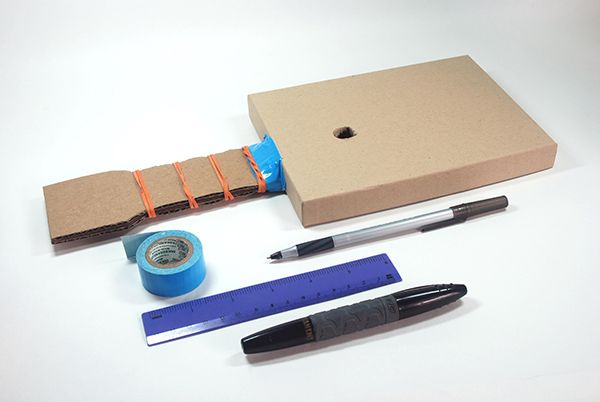
Step 5: Draw two lines 1" (2.5 cm) apart in center of short end of box bottom. Cut along lines and open flap down. Insert neck’s entire tab. With tape and nearest fret, secure tab to inside of box bottom and secure flap to back of neck.

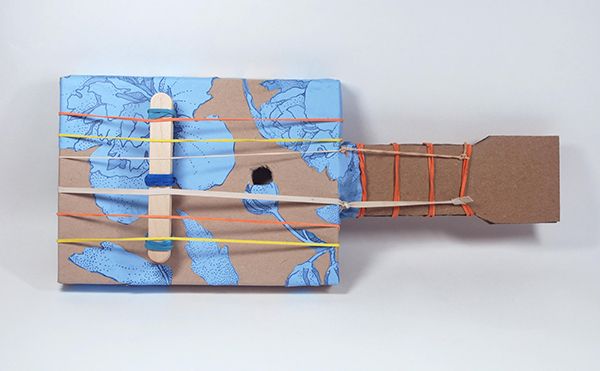
Step 6: Put lid on box. Repeat Step 5 for lid, but now only use tape and fret to secure flap to front side of neck. Carefully use pen to punch hole in lid about 2" (5.1 cm) from neck. Use marker to widen hole.
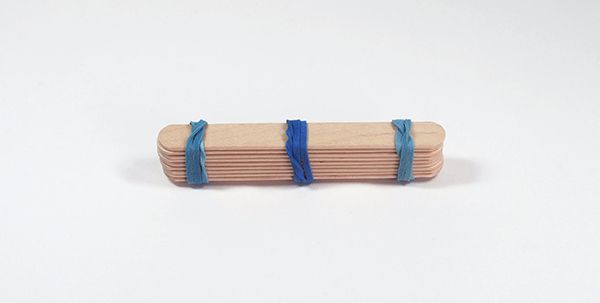
Step 7: For bridge, stack nine craft sticks. Secure with three rubber bands, wrapped tightly several times, spaced 1 ½" (3.8 cm) apart.
Step 8: Decorate box with markers, stickers, or decorative paper, leaving sound hole uncovered. For strings, wrap six rubber bands around box, spaced apart.

Step 9: Place bridge under strings, and position strings between bridge’s banded sections. Pluck strings to hear tone. To improve sound, adjust bridge placement or cut strings smaller and carefully knot them at back of box.
Step 10: Knot end of a cut rubber band to base of a central string. Knot other end to last fret. Repeat for other central string. Trim ends. Now you’re ready to jam!
For a printable version, download a PDF of this craft.
Characters493 Nur152 Nur’s Nook100 Arts84 Crafts213 Musical Instruments6 Music177 Songs69 Creativity296 Arts and Crafts223