Nur’s Nook—Art for Oneness: Make a Paper Mandala
“Do all in your power to be as one, to live in peace, each with the others …” —‘Abdu’l-Bahá
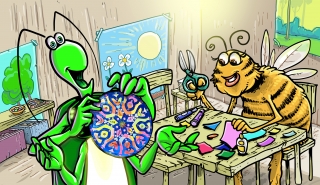
Today at school, I had a super hard time focusing. Some bugs in class were so loud, buzzing all around! I felt angry and anxious. Then in art class, Mr. Hornet showed us an ancient art form called a mandala. The circular designs helped me feel calmer.
We discovered that mandalas are used for meditation in Hinduism, Buddhism, and other religions and cultures. Looking at them can bring mindfulness or a feeling of peace. “Mandala” means “circle” in the Sanskrit language. It’s cool how mandalas are often created in circles. They can symbolize different things coming together as one.
Lots of materials can be used for mandalas, like carved stone, colored sand, or paint on cloth. Mr. Hornet helped us make our own. Our whole class was into it! We put them up around the art room to remind us to play, fly, and learn in harmony!
You’ll Need: 5 7/8" (15 cm) square origami or thin paper • 5½" (14 cm) circle of firm plastic from food container • pencil • ruler • scissors • white glue • printer paper • colorful tissue paper • permanent markers • stickers or sequins • jumbo paper clip • clear tape
Step 1a: To keep lines you’ll draw later on back, start with front side facing up. Fold origami paper in half so corners meet.
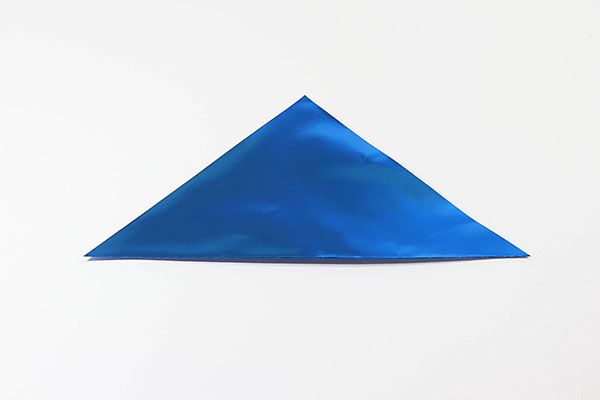
Step 1b: Turn paper so longest edge is at left. Fold paper upward in half so corners meet. Unfold.
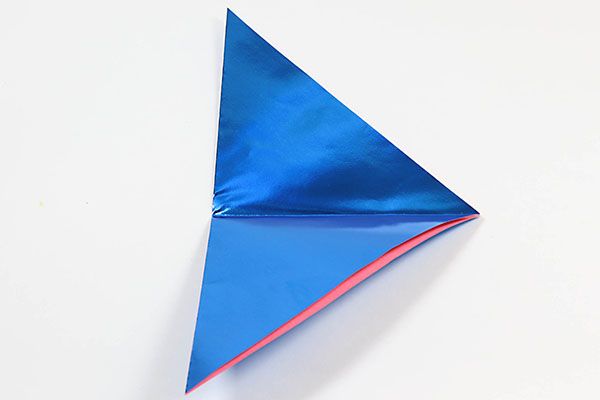
Step 2a: Turn paper so longest edge faces you. Fold bottom right corner up to meet center crease. Unfold.
Step 2b: Bring left edge of paper triangle down to meet previous step’s crease. Pinch flat only top ½" (1.3 cm) to form crease. Unfold.
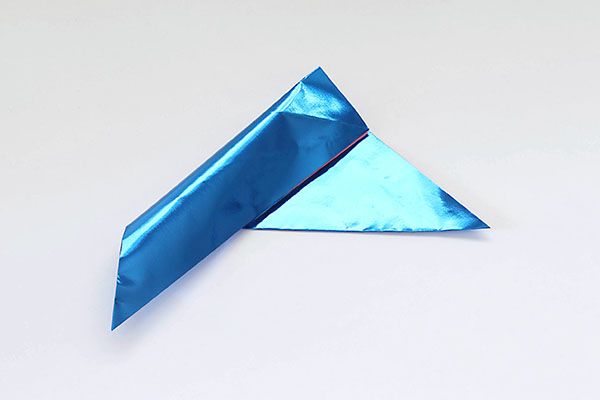
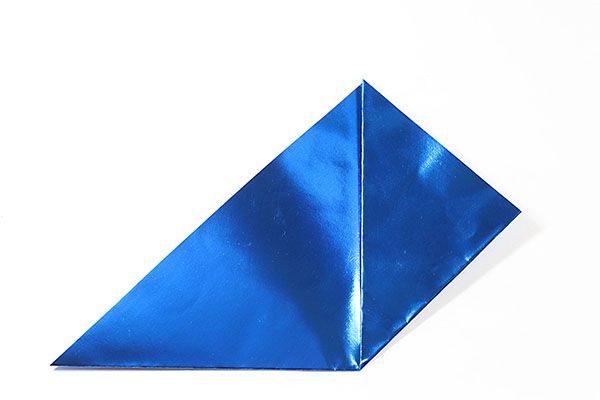
Step 3a: Fold right point of triangle up, so fold’s bottom starts at base of central crease. Press flat. Tip should extend past top of Step 2B’s crease.
Step 3b: Fold left point of paper so its bottom edge meets right flap’s bottom edge.
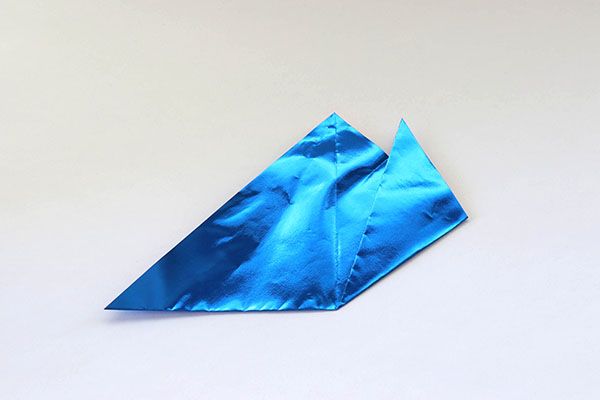
Step 4: Fold far right corner of top flap to the left, so its lower edge meets paper’s left edge.

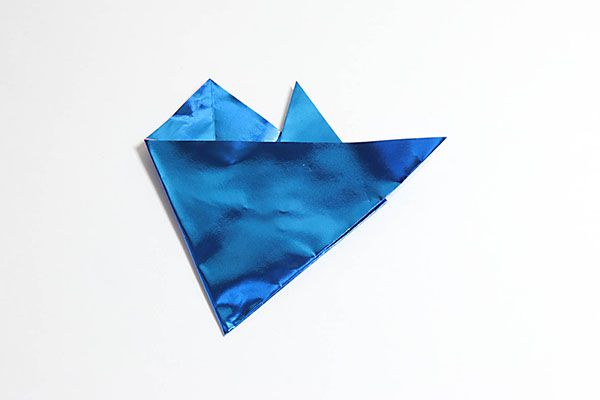
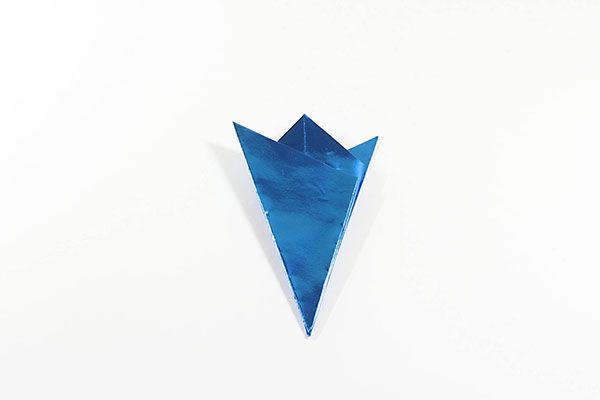
Step 5: Flip paper over. Fold left side so left edge meets paper’s right edge.
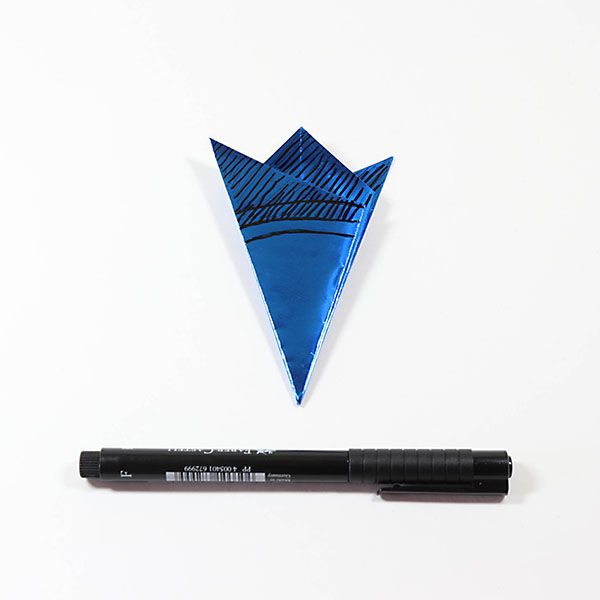
Step 6a: From top flap’s right corner, draw 3 arcs ¼" (.6 cm) apart. Top arc should end even with left corner of flap that’s underneath two upper flaps. Shade areas above second arc.
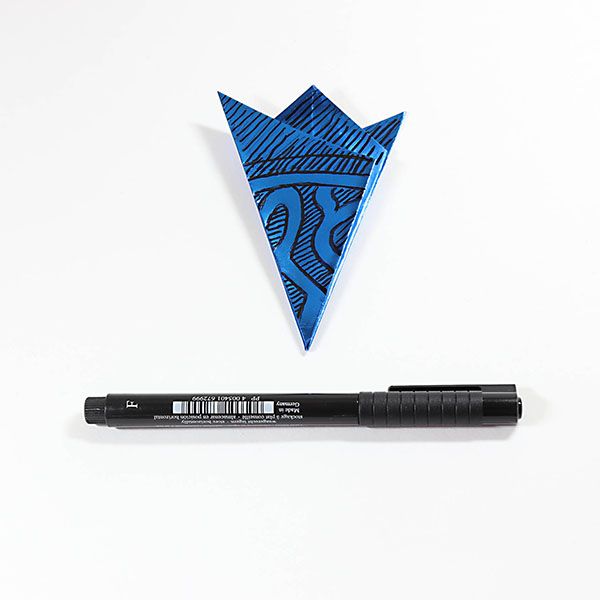
Step 6b: Below lower arc, draw paths of two lines spaced ¼" (.6 cm) apart. Lines should touch lower arc and paper’s left or right edge. Spaces between paths should be about ¼" (.6 cm) apart. Shade between paths.
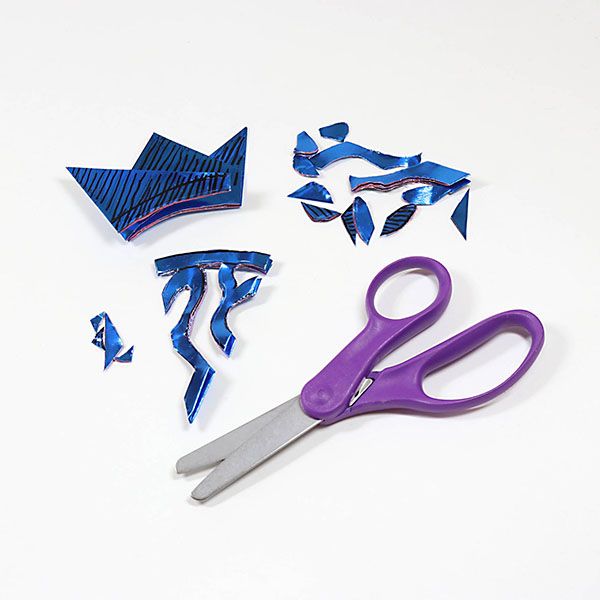
Step 7a: Cut off shaded parts of design.
Step 7b: Carefully open mandala and press flat. Place printer paper over it. Firmly rub side of pencil across it several times to smooth creases.

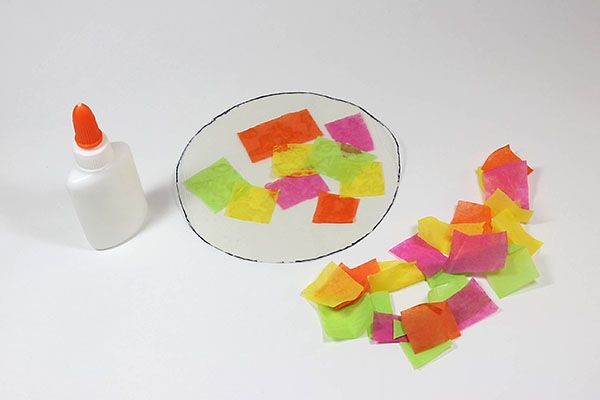
Step 8: Cut tissue paper into 1" (2.5 cm) pieces. Glue to plastic. Let dry. Glue back of mandala to unpapered side of plastic. Trim plastic edges, if needed. Use markers, stickers, or sequins to decorate mandala with virtues and designs about unity.
Step 9a: Bend up inside curve of paper clip. Tape to back of mandala for a stand. Spread out base of clip so mandala stands up.
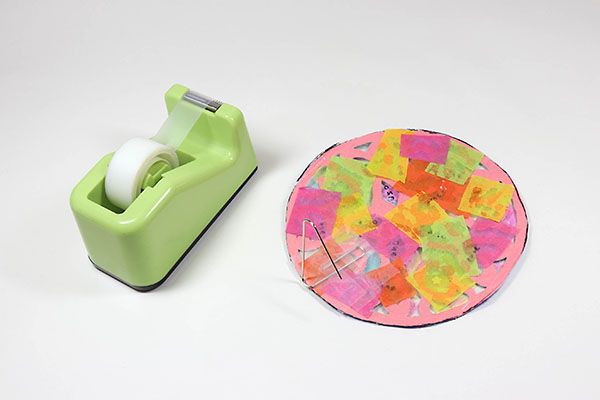
Step 9b: Now it’s ready to display!

*Try our Imagination Station 2 drawing app to create your own ideas or designs or to draw mandalas!
For a printable version, download a PDF of this craft.
Nur152 Nur’s Nook100 Arts & Crafts25 Crafts213 Arts84 Characters493 Paper39 Calmness20 Balance38 Creativity296 Origami14