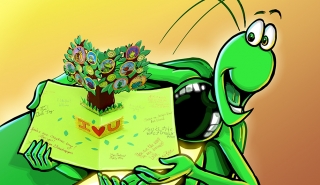
Nur’s Nook: Colorful Community—Make a Family & Friends Tree
“All may be seen to be the parts of the same tree—the great tree of the human family.”
–‘Abdu’l-Bahá
My global community of bugs is super diverse! Scientists know of about a million different kinds of incredible insects in the world. From green to yellow and orange to blue, our different skin and glow colors make us even more brilliant!
I love that humans have different skin colors, too. It would be so dull if everyone looked the same. And you know what’s amazing? Even though people come in various shapes, sizes, and colors, their genes are really 99.9% identical to each other!
When more people understand that there’s only one human family, it will be easier for everyone to get along and live in peace. A fun way to spread unity is by sharing arts and crafts. Here’s a cool pop-up card you can create to express how your community is connected!
You’ll Need: 8" square (20.3 cm) and 2" x 4" (5.1 x 10.2 cm) white poster board, pencil, scissors, ruler, brown paint, paintbrush, tacky glue, 11" x 14" (27.9 x 35.6 cm) colored poster board, clear tape, colorful paper, small photos or drawings of family and friends, markers, stickers (optional)
Optional tree template to print
Step 1: Fold square poster board in half. Along fold, draw half a tree trunk about 4" x 1½" (10.2 x 3.8 cm). At trunk’s top, starting next to fold, add branches that extend off page. Or, use the template above. Cut out tree.
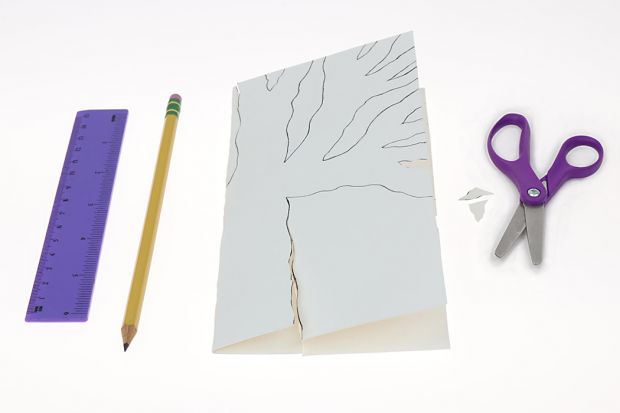
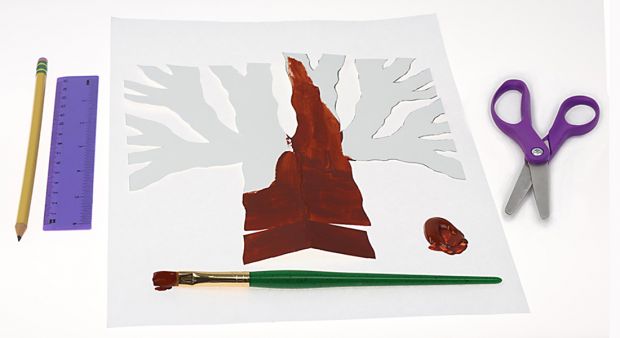
Step 2: Cut 1" (2.5 cm) off trunk’s bottom to make stump. Paint tree and stump brown. Let dry. Repeat on back.
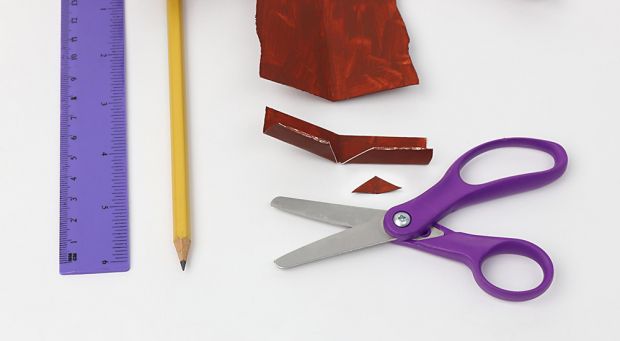
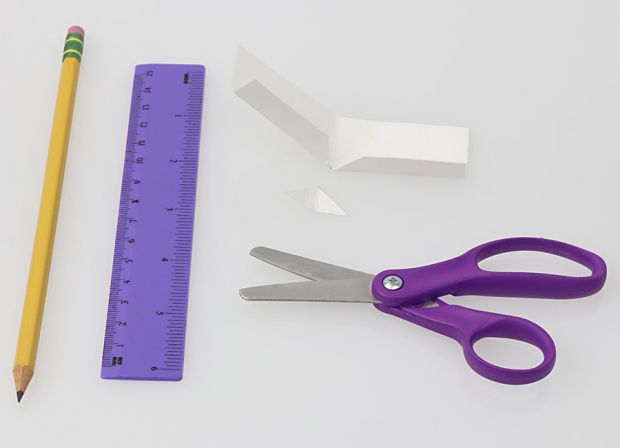
Step 3a: On back of stump, cut 1" x ½" tall (2.5 x 1.3 cm) triangle from center of stump’s base. Fold tabs up so creases meet triangle’s tip.
Step 3b: Glue front of stump’s top fold to back of trunk’s base. Recrease all folds of tree.

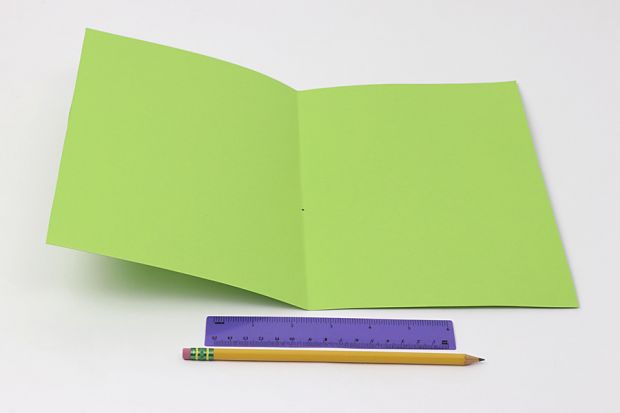
Step 4: Fold large poster board in half so shorter edges meet, and open it. Make a dot in center, 4½" (11.4 cm) from bottom edge.
Step 5: With tree partly unfolded and its back side facing you, completely glue tabs so tree’s center stands up on dot when card opens. Reinforce tabs with tape.
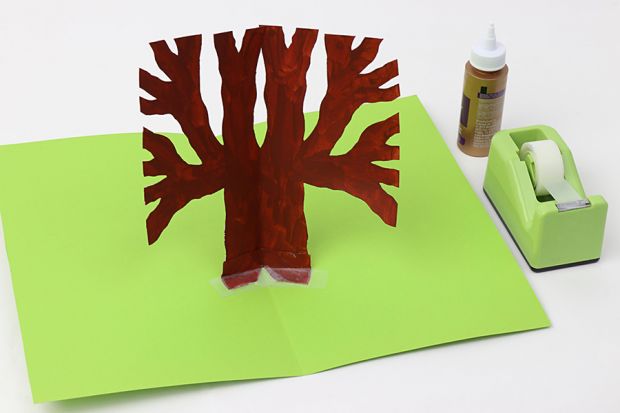
Step 6: Cut ends of branches into points. Cut small leaves from paper and glue them to fronts of branches. Make sure branches don’t extend past card’s edges when closed.

Step 7: Glue photos or drawings of family and friends onto construction paper shapes. Make sure card can close without photos folding or poking out.

Step 8a: To make a sign, fold small poster board in half so short edges touch. Unfold and cut 1" x ½" tall (2.5 x 1.3 cm) triangle from center of base. Fold tabs up so creases meet triangle’s tip.
Step 8b: With sign partly unfolded and its back side facing tree’s front, completely glue tabs so sign’s center stands up on card’s crease. Reinforce tabs with tape.
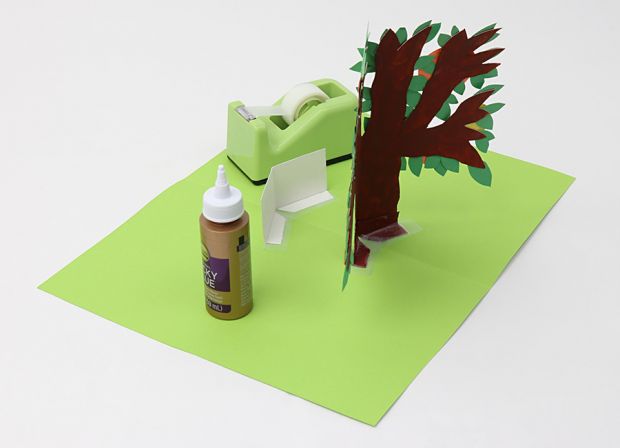
Step 9: Add paper grass. Use paper cutouts, markers, or stickers to decorate card. Invite friends to sign it and write a message.


For a printable version, download a PDF.
Nur152 Creativity296 Arts and Crafts223 Characters493 Race Unity223 Diversity131 Oneness of Humanity107 Friends209 Friendship186 Art55 Crafts213 Families80 Celebrate44 Communities57